Title | How to Renew ADFS Certificate |
Product/System | KnowBe4 |
Company | Tenaga Nasional Berhad (TNB) |
Version | 1.0 |
Date | 6th December 2025 |
Author | Hu Siang Chin |
Confidentiality | Internal Use Only |
Version | Date | Description | Author | Reviewed By | Approved by
|
1.0 | 12/08/25 | Initial version created | Hu Siang Chin |
|
|
1. Introduction
This guide helps troubleshoot scenarios where users are unable to authenticate through ADFS. The issue typically occurs when the ADFS Token-Signing Certificate expires or is about to expire. When this happens, users may experience failed SSO logins, repeated prompts for credentials, or be unable to access connected applications.
2. Before You Begin
2.1 Preparation Checklist
- Customer/Admin has admin access to the ADFS server & ADFS Management Console.
Access to KnowBe4 Admin Console with administrative rights.
Identify systems and users that rely on ADFS SSO to understand the potential impact.
Note current certificates (Token-Signing and Token-Decrypting) for reference.
Ensure the new certificate is available and valid for import.
Schedule a maintenance window if needed to minimize disruption.
Have a test user or browser session ready to validate logins after renewal.
2.2 Safety and Precautions
- Do not renew or replace certificates without proper approval from the system owner or change management.
- Avoid making changes outside the approved maintenance window, as SSO may temporarily fail for users.
- Do not delete or overwrite the current Token-Signing or Token-Decrypting certificate before the new certificate is fully in place and tested.
- Do not skip backing up the existing ADFS configuration, as this is critical for rollback in case of errors.
- Avoid making changes without verifying the new certificate’s validity and thumbprint, to prevent authentication failures.
- Do not perform actions without confirming impacted applications or users, since all SSO-reliant systems may be affected.
3. How to Set Up SAML
3.1 Step-by-Step
To set up SAML, follow the steps below:
- Access your ADFS management console.
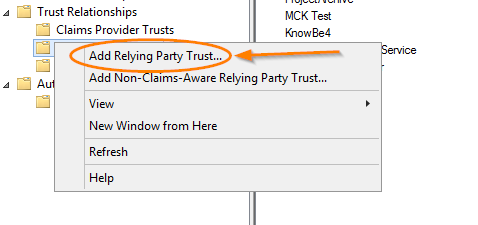
- Expand the Trust Relationships folder.
- Right-click Relying Party Trust and click Add Relying Party Trust…. When you click, the Add Relying Party Trust window will open.
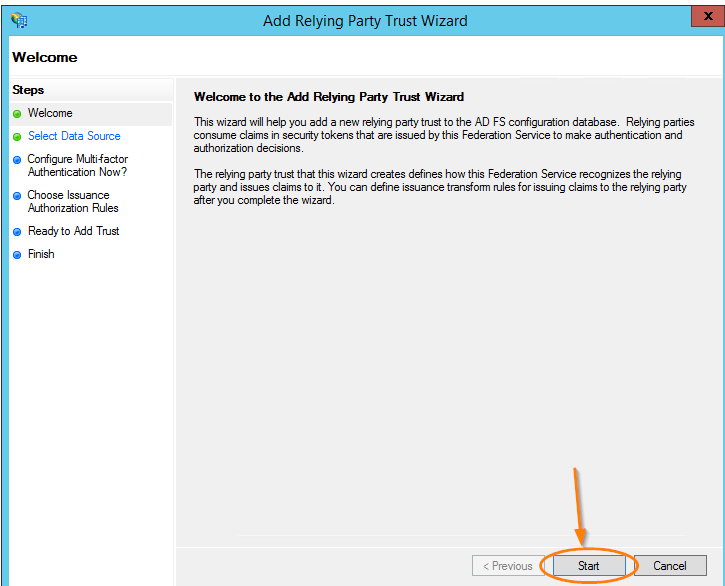
- Click Start on the wizard’s Welcome screen.
- Choose Enter data about the relying party manually. Click Next.

- Enter a display name, such as KnowBe4. Select Next.

- Leave AD FS profile selected and select Next.

- On the Configure Certificate screen, select Next.

- On the Configure URL screen, select the Enable support for the SAML 2.0 WebSSO protocol option. Stay on the Configure URL screen and move on to the next step.
- For this step, you'll need to obtain your unique Callback URL from your KSAT Account Settings:
- Log in to your KSAT account.
- After logging in, select your email address at the top-right corner of the page.
- Select Account Settings.
- Navigate to Account Integrations > SAML.
- Copy your account-specific callback URL. For example, https://training.knowbe4.com/auth/saml/xxxxxxxxxxx/callback.
- Navigate back to the Configure URL screen of the setup wizard.
- Paste the link you obtained into the Relying party SAML 2.0 SSO service URL field on the Configure URL page and select Next.

- On the Configure Identifiers screen, enter "KnowBe4" into the Relying party trust identifier field. Select Add, then select Next.

- Leave the I do not want to configure multi-factor authentication settings for this relying party trust at this time option selected, then select Next.

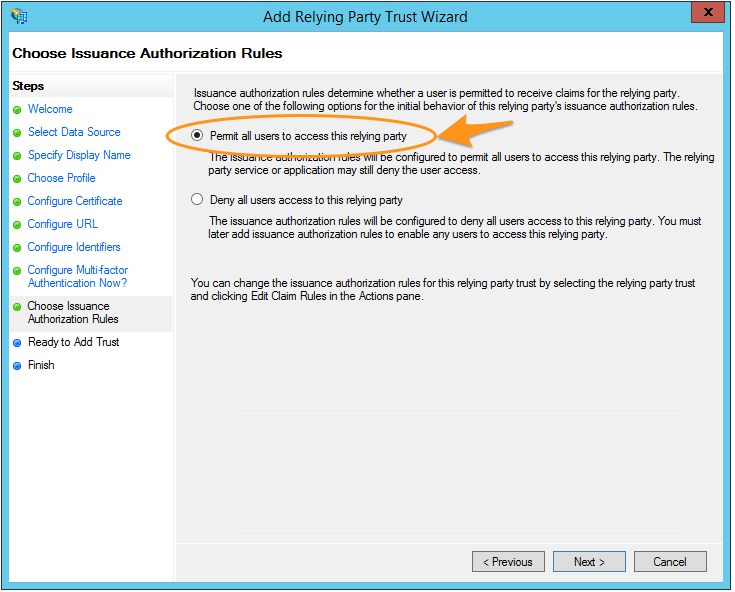
- Leave the Permit all users to access this relying party option selected, then select Next.
- On the Ready to Add Trust screen, select Next.

- Leave the Open the Edit Claim Rules dialog for this relying party trust when the wizard closes check box selected and select Close.

- In the Edit claim rules window, select Add Rule….

- On the Choose Rule Type screen, leave Send LDAP Attributes as Claims selected as the template and select Next.

- Enter a name, then under Attribute Store choose Active Directory. Under the Mapping of LDAP attributes to outgoing claim types area, select Email Addresses for the LDAP Attribute and then choose E-mail Address for Outgoing Claim Type. Click Finish.

- Click Add Rule... back on the Edit Claims window again.

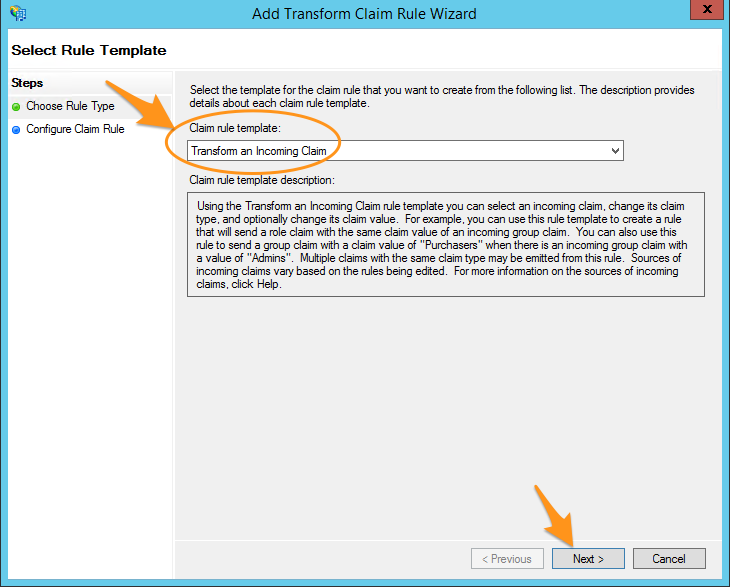
- Under Claim rule template, select Transform an Incoming Claim and select Next.
- Enter a name and then change the following settings:
- Incoming claim type: Select E-Mail Address.
- Outgoing claim type: Select Name ID.
- Outgoing name ID format: Select Email.
- Pass through all claim values: Select this option.

- Select Finish on the Configure Claim Rule page, and then select OK on the Edit Claims window to exit.
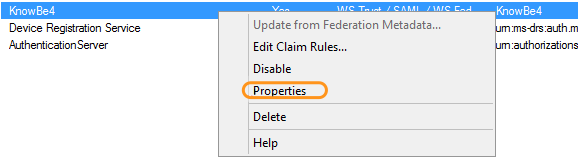
- Right-click the relying party trust and select Properties.
- Click the Advanced tab and select SHA-256 from the Secure hash algorithm drop-down menu.

- Select OK to exit.
4.1 Glossary
Term | Meaning |
ADFS | Active Directory Federation Services |
IDP | Identity Provider |
SSO | Single Sign-On |
| MMC Certificate Manager | Microsoft Management Console Certificate Manager |
4.2 Tools & Resources
- KnowBe4 Admin Console
- ADFS Server
- ADFS Management Console
- MMC Certificate Manager
Was this article helpful?
That’s Great!
Thank you for your feedback
Sorry! We couldn't be helpful
Thank you for your feedback
Feedback sent
We appreciate your effort and will try to fix the article